Weaving Adventures – Project 3 – Garb: Burgundian Cutting

I did it. I cut the fabric for this weaving project.  🙂

And, before you ask, no, I did not have any cutting anxiety for this. I am not entirely positive *why* I don’t have cutting anxiety. I think if I had bought the fabric, I might. But, this is kind of “free” because I bought these fibers sometime in the late 1990s. They’re in my fiber stash and have been taking up space ever since. While, yes, this is handwoven cloth and I spent hours weaving it, I didn’t have any issues cutting it. It’s all part of the experiments leading up to my end goal project.

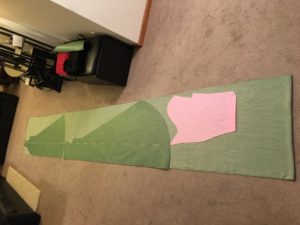
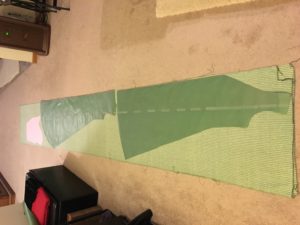
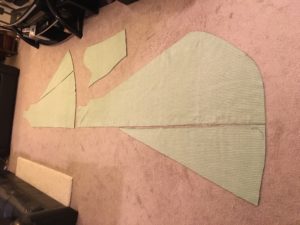
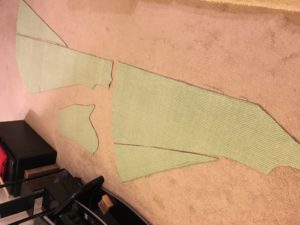
Anyway, there was enough fabric in this weaving project for this dress to have a little bit of a train. Because of the narrow width of the fabric, I am planning to place gores in the front and the back.

I have a little bit of fabric left over that I can probably make a matching pouch.

Weaving project - Laying out the pattern pieces on the cloth Weaving project - Laying out the pattern pieces on the cloth - another perspective Weaving project - The cut cloth Weaving project - The cut cloth - another perspective


Weaving Adventures – Project 3 – Garb: Burgundian Patterning

At some point during the weaving process, I started searching the Internet for illuminations showing medieval clothing with vertical stripes.

When I found this, I started leaning toward trying to make this particular garment (http://gallica.bnf.fr/ark:/12148/btv1b10515437z/f171.item). I mean, why not. It’s green with some pinstripes. The illumination looks like the stripes are a darker color like a brown or a burgundy and a light color like white or yellow.

Close enough for me.  🙂


Patterning

To do a pattern for a Burgundian gown, I started with my 4-piece cotehardie.
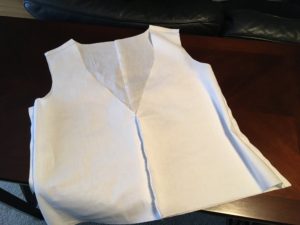
This picture is the front piece of my 4-piece cotehardie pattern.


I turned back the neckline to plan for the deep V, bringing it down to the bottom of the bustline.


I transferred the current pattern to paper. Then, instead of following the curves toward my waistline, I went straight down from the armpit to the hip and angled out to the width of the fabric. Click on the image to see it better.


I then mocked it up in fabric and stitched it together so I could test to see if I could pull it over my head.

Success!

Next step will be to lay it out on the handwoven fabric, taking into account that I will add a band around the bottom to match the collar and cuffs, gores, and maybe enough for a little bit of a train.