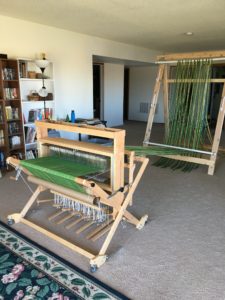
Weaving Adventures – Warping Trapeze

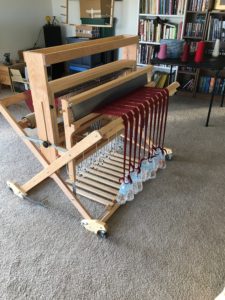
After my first weaving project, where I ended up warping the loom again by tossing the warp over the bannister and weighting the warp with water bottles, I needed a new weighting option after moving the loom to the lower level of the house before the second project.

After doing some searching online, I found people using something called a warping trapeze. Brilliant.

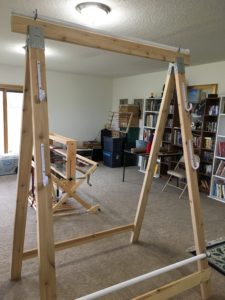
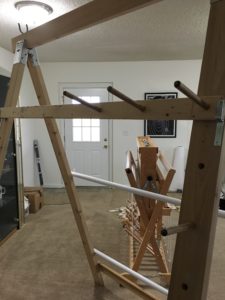
However, I wanted my warping trapeze design to be a little different. I’m not going to walk through how to actually build a warping trapeze but I’m showing several pictures of how we build mine and why we chose some of the design features.

A Gallery of Pictures of My Warping Trapeze

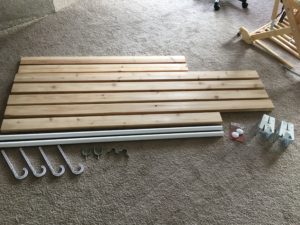
The warping trapeze hardware This is most of the lumber and hardware. This doesn’t include upgrades we made to the trapeze later.
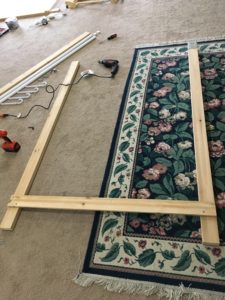
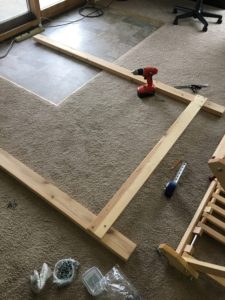
Warping trapeze bottom cross piece Constructing: Adding one of the bottom cross-pieces.
warping trapeze bottom cross piece Constructing: adding the other cross-piece.
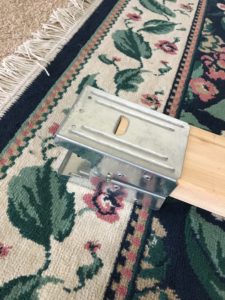
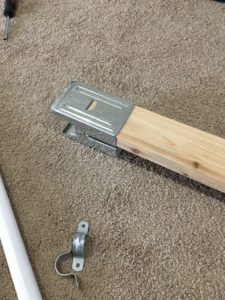
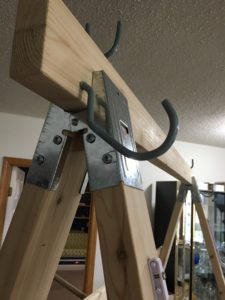
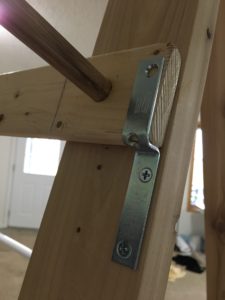
warping trapeze - saw horse hardware The top of the vertical pieces is saw-horse hardware.
warping trapeze - saw horse hardware Just another picture of the saw-horse hardware.
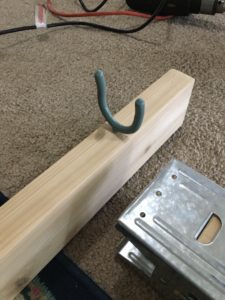
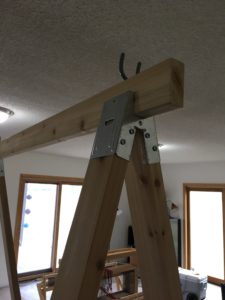
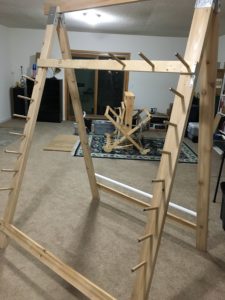
warping trapeze - top hook for storing the adjustable top bar On the very top of the frame are these plastic dipped hooks for storing the adjustable top bar (you’ll see later).
warping trapeze - top board attached to the saw horse hardware The saw-horse hardware is only attached to the top board on one side so I can fold it up and set it aside when not in use.
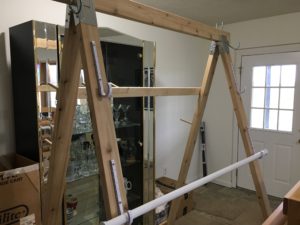
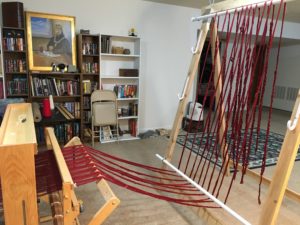
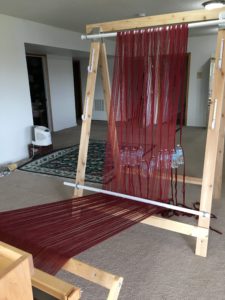
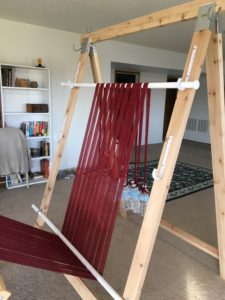
warping trapeze - constructed and set up This is the nearly finished warping trapeze. The top bar is in its storage position.
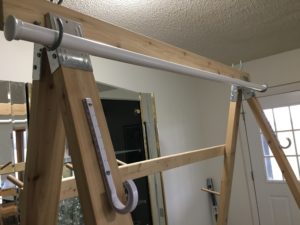
 warping trapeze - top bar in top position This shows the top bar in its top-most position. It sits in another kind of plastic-dipped hook (see next picture).
 warping trapeze - hook for top bar top position This is the hook for when I’m winding warp. This is the top position of the top bar. When I start getting to the end of my warp, I can lift the bar off these hooks and move it down to the next position.
warping trapeze - top bar in first adjustable position This is the second position.
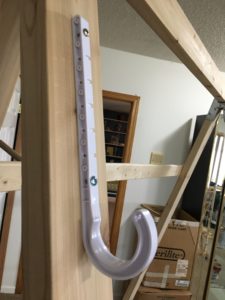
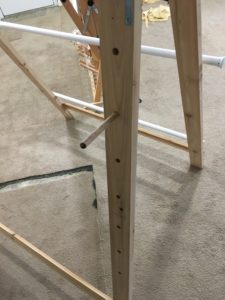
warping trapeze - plumbing pipe hooks for adjustment postions These hooks are what plumbers use to hang pipe and are what I use for the adjustment positions. They just screw right into the boards (screws were included with the hooks).
warping trapeze - top bar in bottom adjustment position And, this is the third position.

Note: I plan to add one more position that aligns with the front beam of the loom.

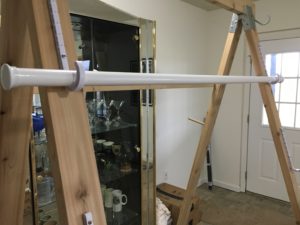
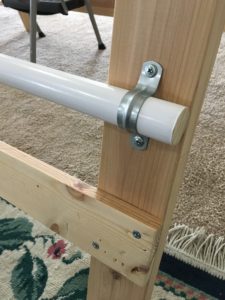
warping trapeze - bottom bar The bottom bar is fixed.
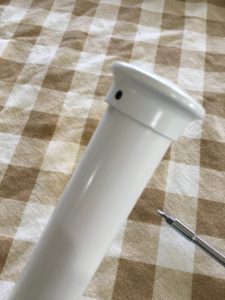
warping trapeze - end cap on adjustable bar Caps on the ends of the adjustable top bar. This is handy if, while I’m moving the warp down to the next set of hooks and I tip the bar a little, the warp won’t slide off the end. And, it looks more finished.  🙂
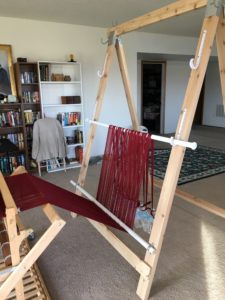
warping trapeze - warp draped over the trapeze - under the bottom bar and over the top bar Warp goes under the bottom bar and up over the top bar. Here the warp is un-weighted.
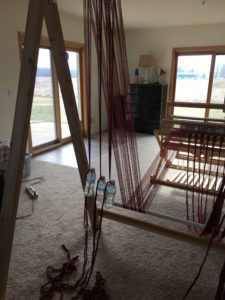
 warping trapeze - starting to weight the warp At this point, I start weighting sections of the warp. With this first time using the warping trapeze, I used water bottles for my weights.
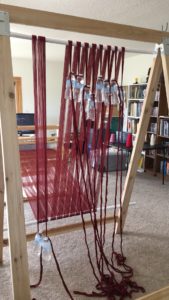
warping trapeze - warp completely weighted All the warp is now weighted. All the weight is even across the entire warp.

Beautiful!

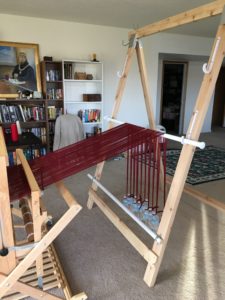
warping trapeze - adjusting the weights  As I wind the warp onto the warp beam, the weights move up. When they get close to that top bar, I move the weights back to the floor. This continues until I run out of warp.
warping trapeze - top bar adjustment When my weights are at the end of the warp, I now adjust by moving that top bar down to the next set of hooks and continue winding.
warping trapeze - bottom adjustment position And again down to the next bar.
warping trapeze - more adjustment The next step is to pull the weights out from under the bottom bar and put over the bar at its lowest position.

It’s here that I need another set of adjustment hooks that are even with the front beam because the warp should be horizontal here.

warping trapeze - moving closer to the loom I move the trapeze closer to the loom to get as much work out of the trapeze as possible.
End of the weighted warp off the front beam When I can’t use the trapeze any more, the weights just hang off the front beam and I finish winding until the weights are up to the front beam.
Warping trapeze in use When I used the trapeze for the second time, I changed things a little. I bought weights instead of keeping water bottles on hand.
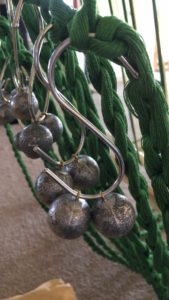
Weights on the warping trapeze - fishing weights These are S-hooks and fishing weights. These weights come in all sorts of sizes. I bought 4-ounce weights.
Warping frame on the warping trapeze This is the latest improvement to the warping trapeze. It now doubles as a warping frame! My other frame does 9 yards. With all the pegs in, this will do 20 yards.
Board with "the cross" is removable The board with the pegs for the cross is removable. The pegs are glued in to this board.
Pegs are removable All the other pegs are removable. That way, I can set up my configuration to suit the warp length I want to measure.
Pegs for "the cross" Picture of the board with the pegs for the cross.

Weaving Adventures – Project 4 – Planning

The new fibers for weaving project #4 arrived today!

The goal for this experiment:

  • Garment-weight cloth
  • Fill the full-width of my 20-dent reed (had to order more heddles)
  • Silk warp and wool weft
  • Unbalanced twill

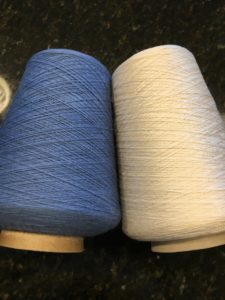
weaving fibers: blue wool for the weft and white silk for the warpI ordered silk and wool from Halcyon Yarn. I ordered a white 2/30 silk for the warp and a “French Blue” 2/20 wool for the weft.

I’m only going to weave a couple of yards for this experiment. It’ll be enough to do something small, like maybe a hood to wear with my cotehardies.

With the silk being finer than the wool, the cloth will be more wool-like than silk-like.

This one will still be a twill. I think I’d like to do an unbalanced twill this time. That way I could have either side of the hood be a little different color.

Planning the Warp

With this experiment, I had to order specific fibers instead of digging in to my stash of fibers.

I also had to do the math to figure out exactly how much fiber to order.

I pulled out my weaving books to find a formula for planning the amount of fiber.

My reeds are about 37″ wide. To be safe, I assume I can use 36″ of it. Using my 20-dent reed at 2-ends-per-dent across the 36″ equals 1440 ends.

20 x 36 x 2 = 1440 (had to order more heddles with the fiber)

  • If I plan two yards of a finished woven length, that is 72″
  • Assume approximately 5% shrinkage: ~4″
  • Assume approximately 10% takeup: ~7″
  • That equals approximately 83 inches of warp length to get to the finished woven length
  • Assume approximately a yard of waste (I’m getting better at waste but I assumed a yard for my math)
  • Now I’m up to 119″ (3.3 yards) of measured warp (and I can do a 3.3 yard path on my warping frame)

3.3 yards warp length x 1440 warp ends = 4752 yards of warp fiber.

The silk I picked out has 7200 yards per pound. I need 0.63 pounds. Based on how the silk is sold, I had to buy a full pound cone.

Planning the Weft

I’m planning on a 36″ wide cloth. Of course, there is likely to be some draw-in but I need to plan for getting better at weaving and draw-in being minimized as I work on these projects. So, assume I can create that full 36″ width.

Based on information at the website, I can get about 40 shots per inch of the wool.

36 x 40 = 1440″ of fiber per inch of woven cloth

Multiply that by the project length + shrinkage and divide by 36 to get the number of yards of fiber I need for the weft.

Result is 3040 yards.

The weft I picked out is 5600 yards/pound.

Again, I had to bought a full pound of the weft fiber.

I love this adventure!

Weaving Adventures – Project 3 – Warping

Goals for this third project on my loom:

  • Garment-weight cloth
  • Twill weave
  • Two different fibers
  • Use my new 20-dent reed

Again, with this project, I dipped into my fiber stash. I selected a green 14/2 cotton for the warp. For the weft I chose a natural silk/wool blend that no longer has its label so I can’t be sure of the gauge. But, it’s very similar in size to the cotton.


My plan was to sley two ends per dent in the reed and, with the limit of how many heddles I have, I needed a total of 1152 warp ends. I also chose to do a longer warp than the previous warp. This time I made 12 yards of warp.

In the warp measuring process, I ran out of the green.

Time to change my plan a little. I added some yellow. The result was that I used three ends of yellow in every 16 ends, resulting in yellow pin stripes on the green.


I opened up the Fiberworks program to see what it might look like. I can live with that. It wasn’t my original plan, but, this is my adventure! Sometimes you have to make it up as you go.  🙂


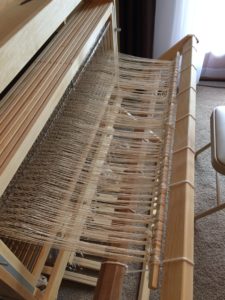
With this revised plan, I continued my warping. The following are a set of pictures to help show the progress.

I started measuring the warp on February 14, 2017, and completed the measuring on February 19, 2017.

I started warping the loom on February 19, 2017 and completed the warping on March 4, 2017.

Weaving Adventures – Project 1 – Putting on the Break-In Warp

The first warp for my new loom was a rug warp.

The warping frame I bought with the loom is a 9-yard frame. I measured out the full length on the frame.

The first warp was a heavy cotton that I got from my grandmother who had been using it to make rag rugs. It was also recommended by Schacht for helping to clean the manufacturing oils off of the reed.


I measured enough warp ends to fill the reed. The reed that came with the loom is a 12-dent reed. That means there are 12 slots per inch. It’s a 37″ reed which means it has 444 slots.


I filled most of the reed with one warp end per opening in the reed. I read instructions and watched videos for warping front-to-back and back-to-front and decided that front-to-back looked like it would be easiest for me.