
After my first weaving project, where I ended up warping the loom again by tossing the warp over the bannister and weighting the warp with water bottles, I needed a new weighting option after moving the loom to the lower level of the house before the second project.
After doing some searching online, I found people using something called a warping trapeze. Brilliant.
However, I wanted my warping trapeze design to be a little different. I’m not going to walk through how to actually build a warping trapeze but I’m showing several pictures of how we build mine and why we chose some of the design features.
A Gallery of Pictures of My Warping Trapeze
 |
This is most of the lumber and hardware. This doesn’t include upgrades we made to the trapeze later. |
 |
Constructing: Adding one of the bottom cross-pieces. |
 |
Constructing: adding the other cross-piece. |
 |
The top of the vertical pieces is saw-horse hardware. |
 |
Just another picture of the saw-horse hardware. |
 |
On the very top of the frame are these plastic dipped hooks for storing the adjustable top bar (you’ll see later). |
 |
The saw-horse hardware is only attached to the top board on one side so I can fold it up and set it aside when not in use. |
 |
This is the nearly finished warping trapeze. The top bar is in its storage position. |
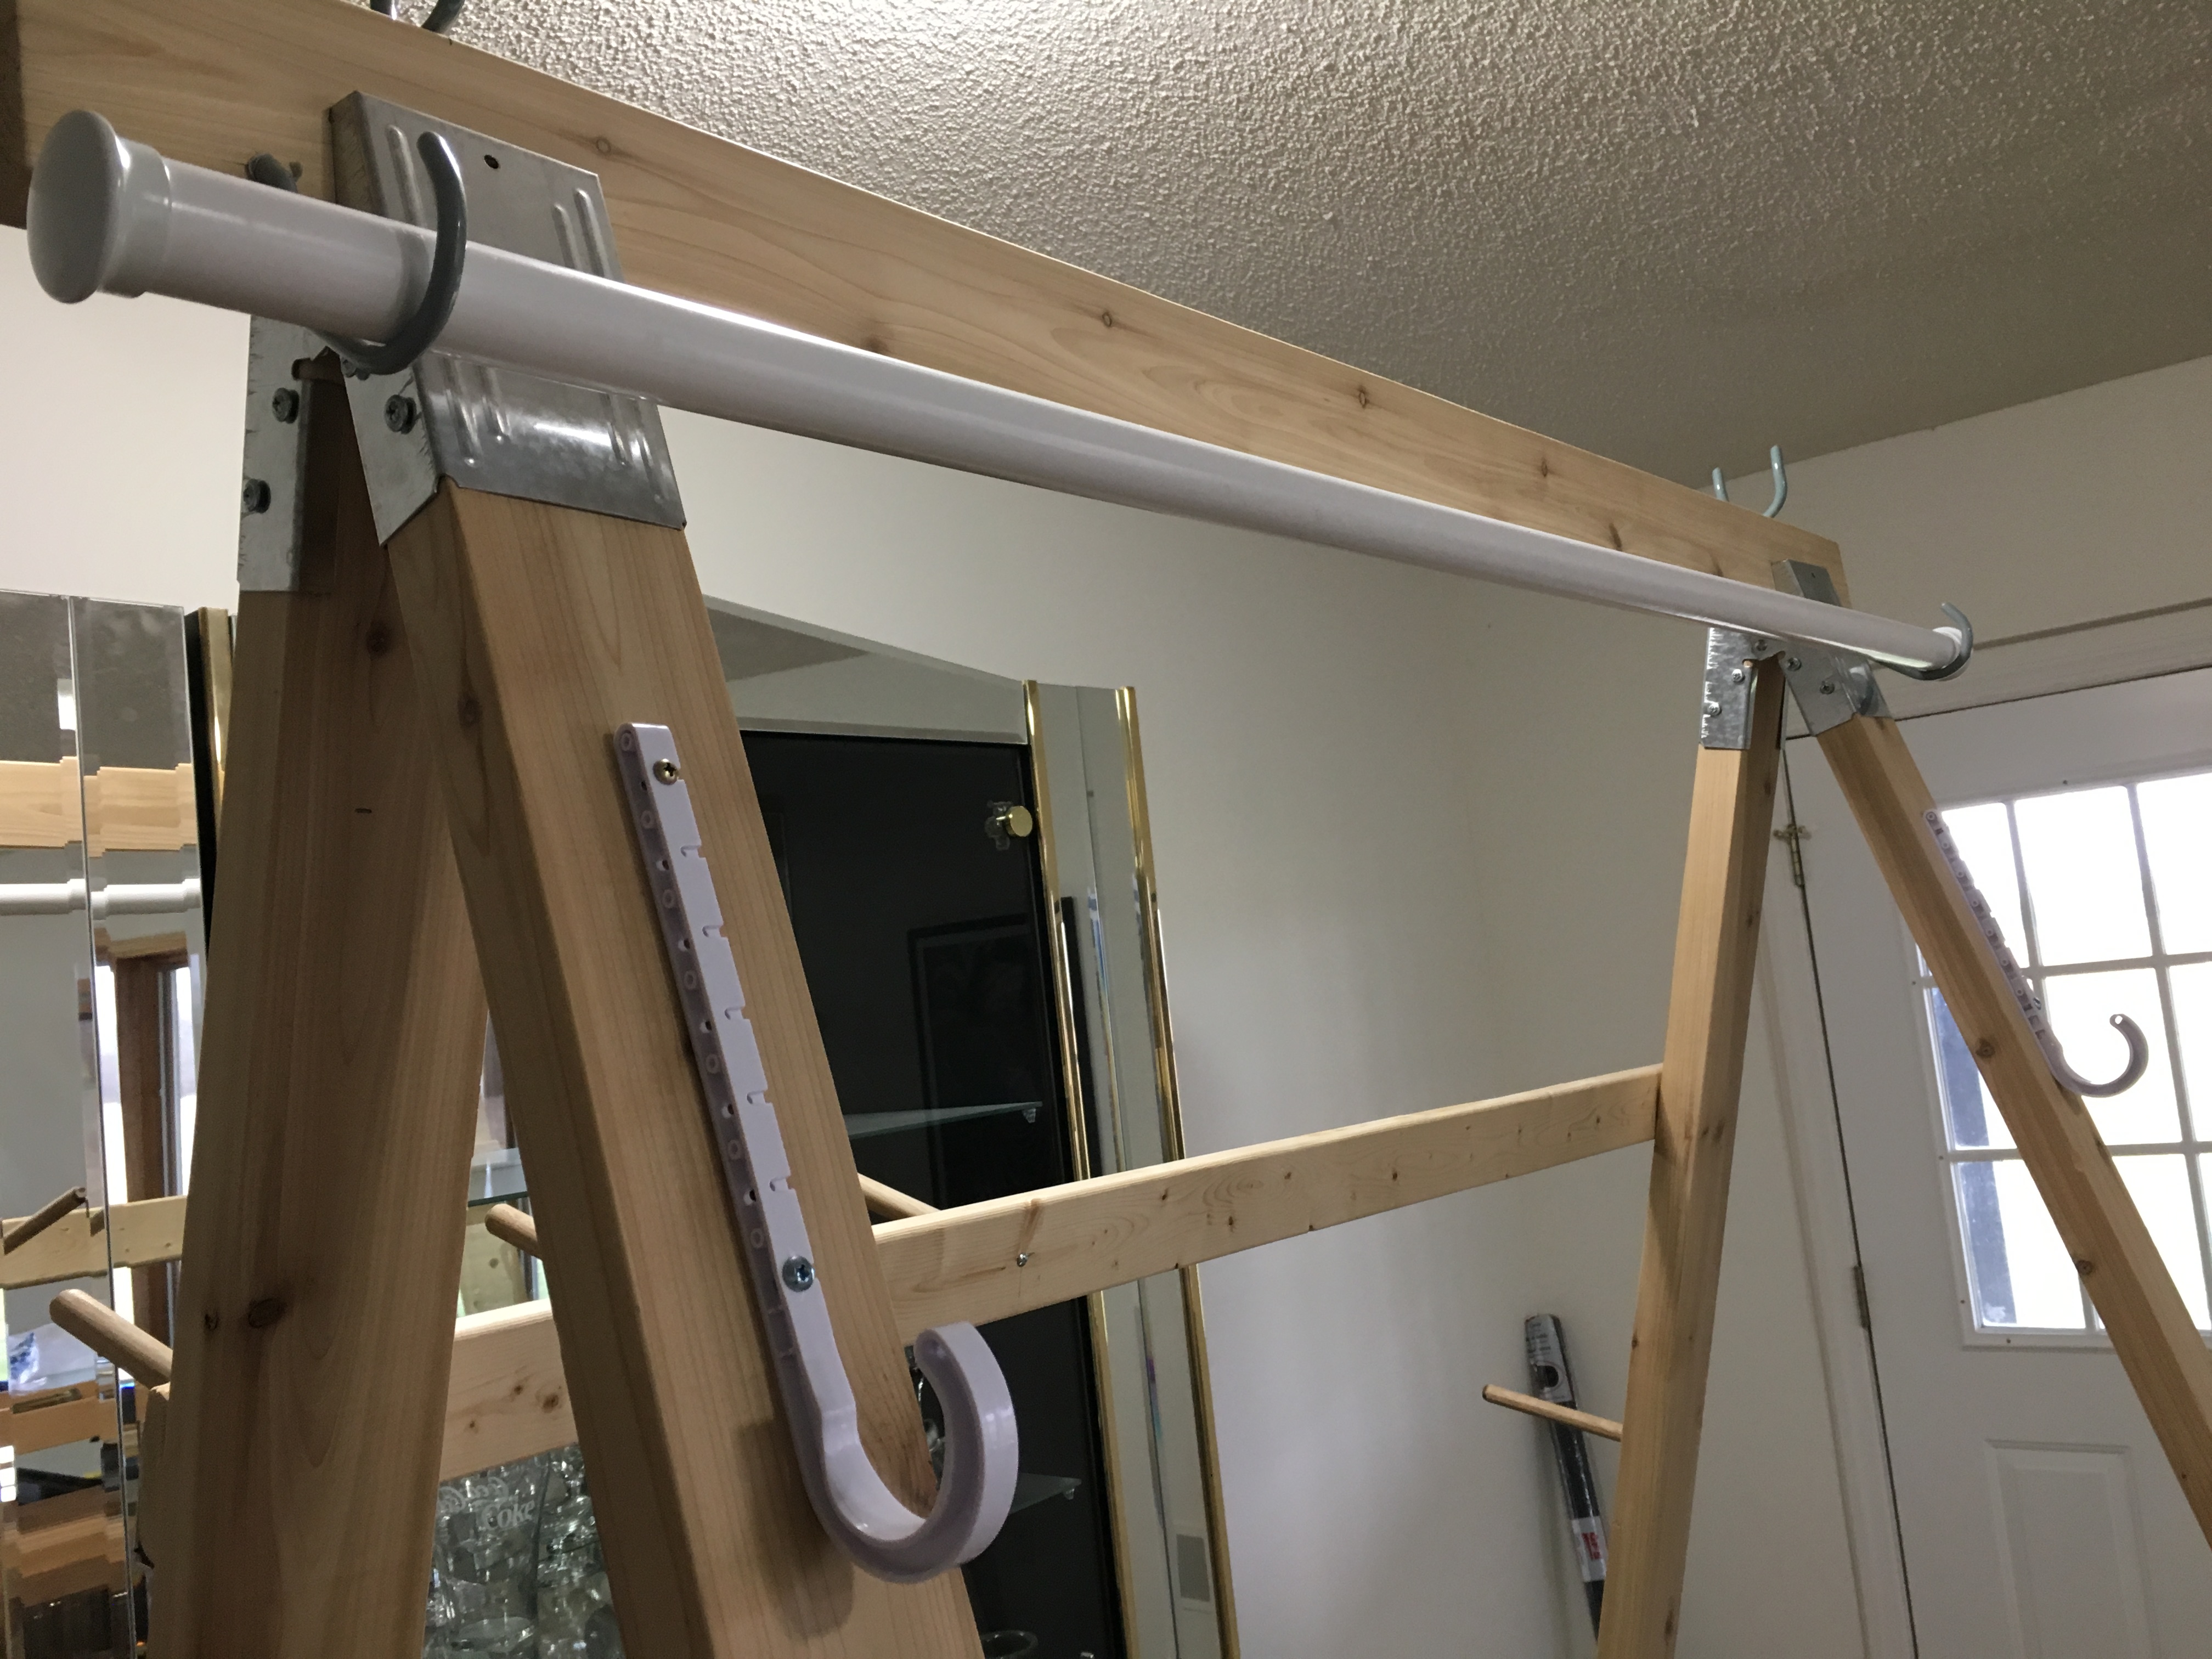 |
This shows the top bar in its top-most position. It sits in another kind of plastic-dipped hook (see next picture). |
 |
This is the hook for when I’m winding warp. This is the top position of the top bar. When I start getting to the end of my warp, I can lift the bar off these hooks and move it down to the next position. |
 |
This is the second position. |
 |
These hooks are what plumbers use to hang pipe and are what I use for the adjustment positions. They just screw right into the boards (screws were included with the hooks). |
 |
And, this is the third position.
Note: I plan to add one more position that aligns with the front beam of the loom. |
 |
The bottom bar is fixed. |
 |
Caps on the ends of the adjustable top bar. This is handy if, while I’m moving the warp down to the next set of hooks and I tip the bar a little, the warp won’t slide off the end. And, it looks more finished. 🙂 |
 |
Warp goes under the bottom bar and up over the top bar. Here the warp is un-weighted. |
 |
At this point, I start weighting sections of the warp. With this first time using the warping trapeze, I used water bottles for my weights. |
 |
All the warp is now weighted. All the weight is even across the entire warp.
Beautiful! |
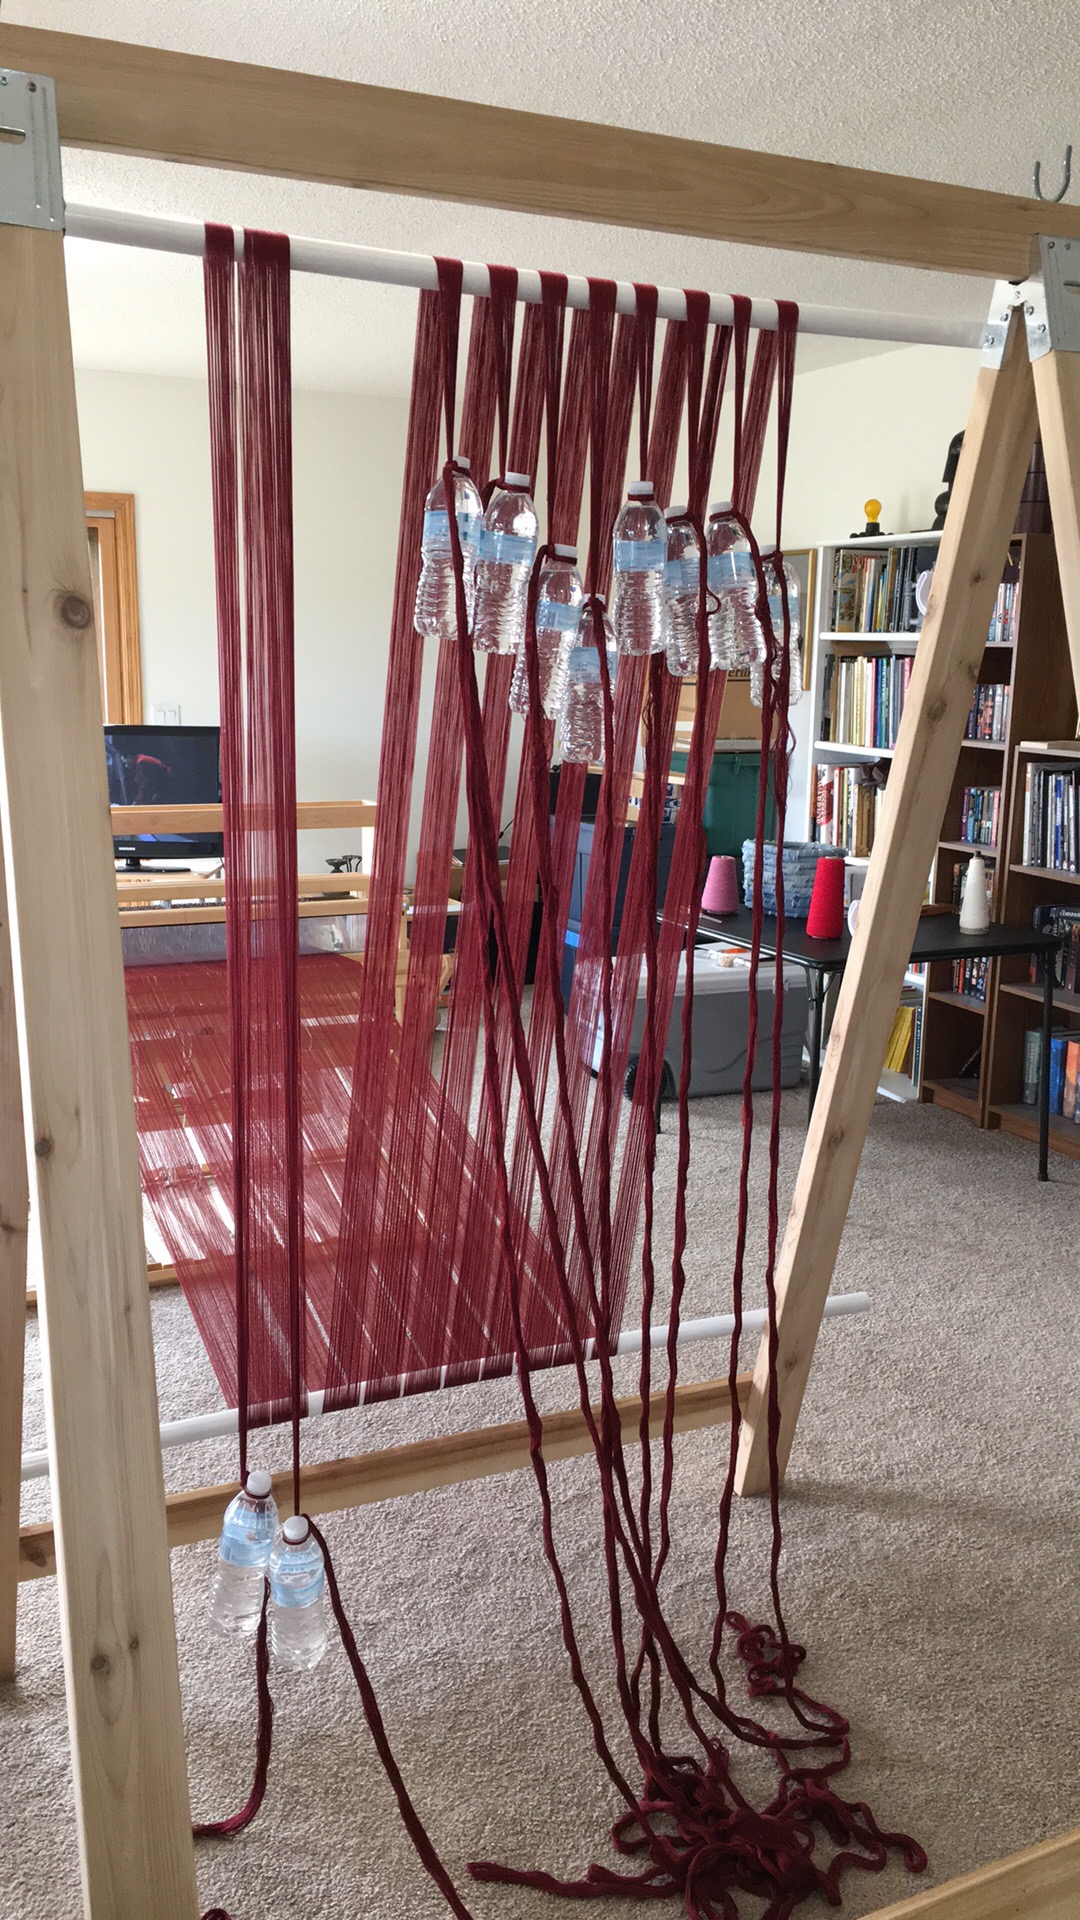 |
As I wind the warp onto the warp beam, the weights move up. When they get close to that top bar, I move the weights back to the floor. This continues until I run out of warp. |
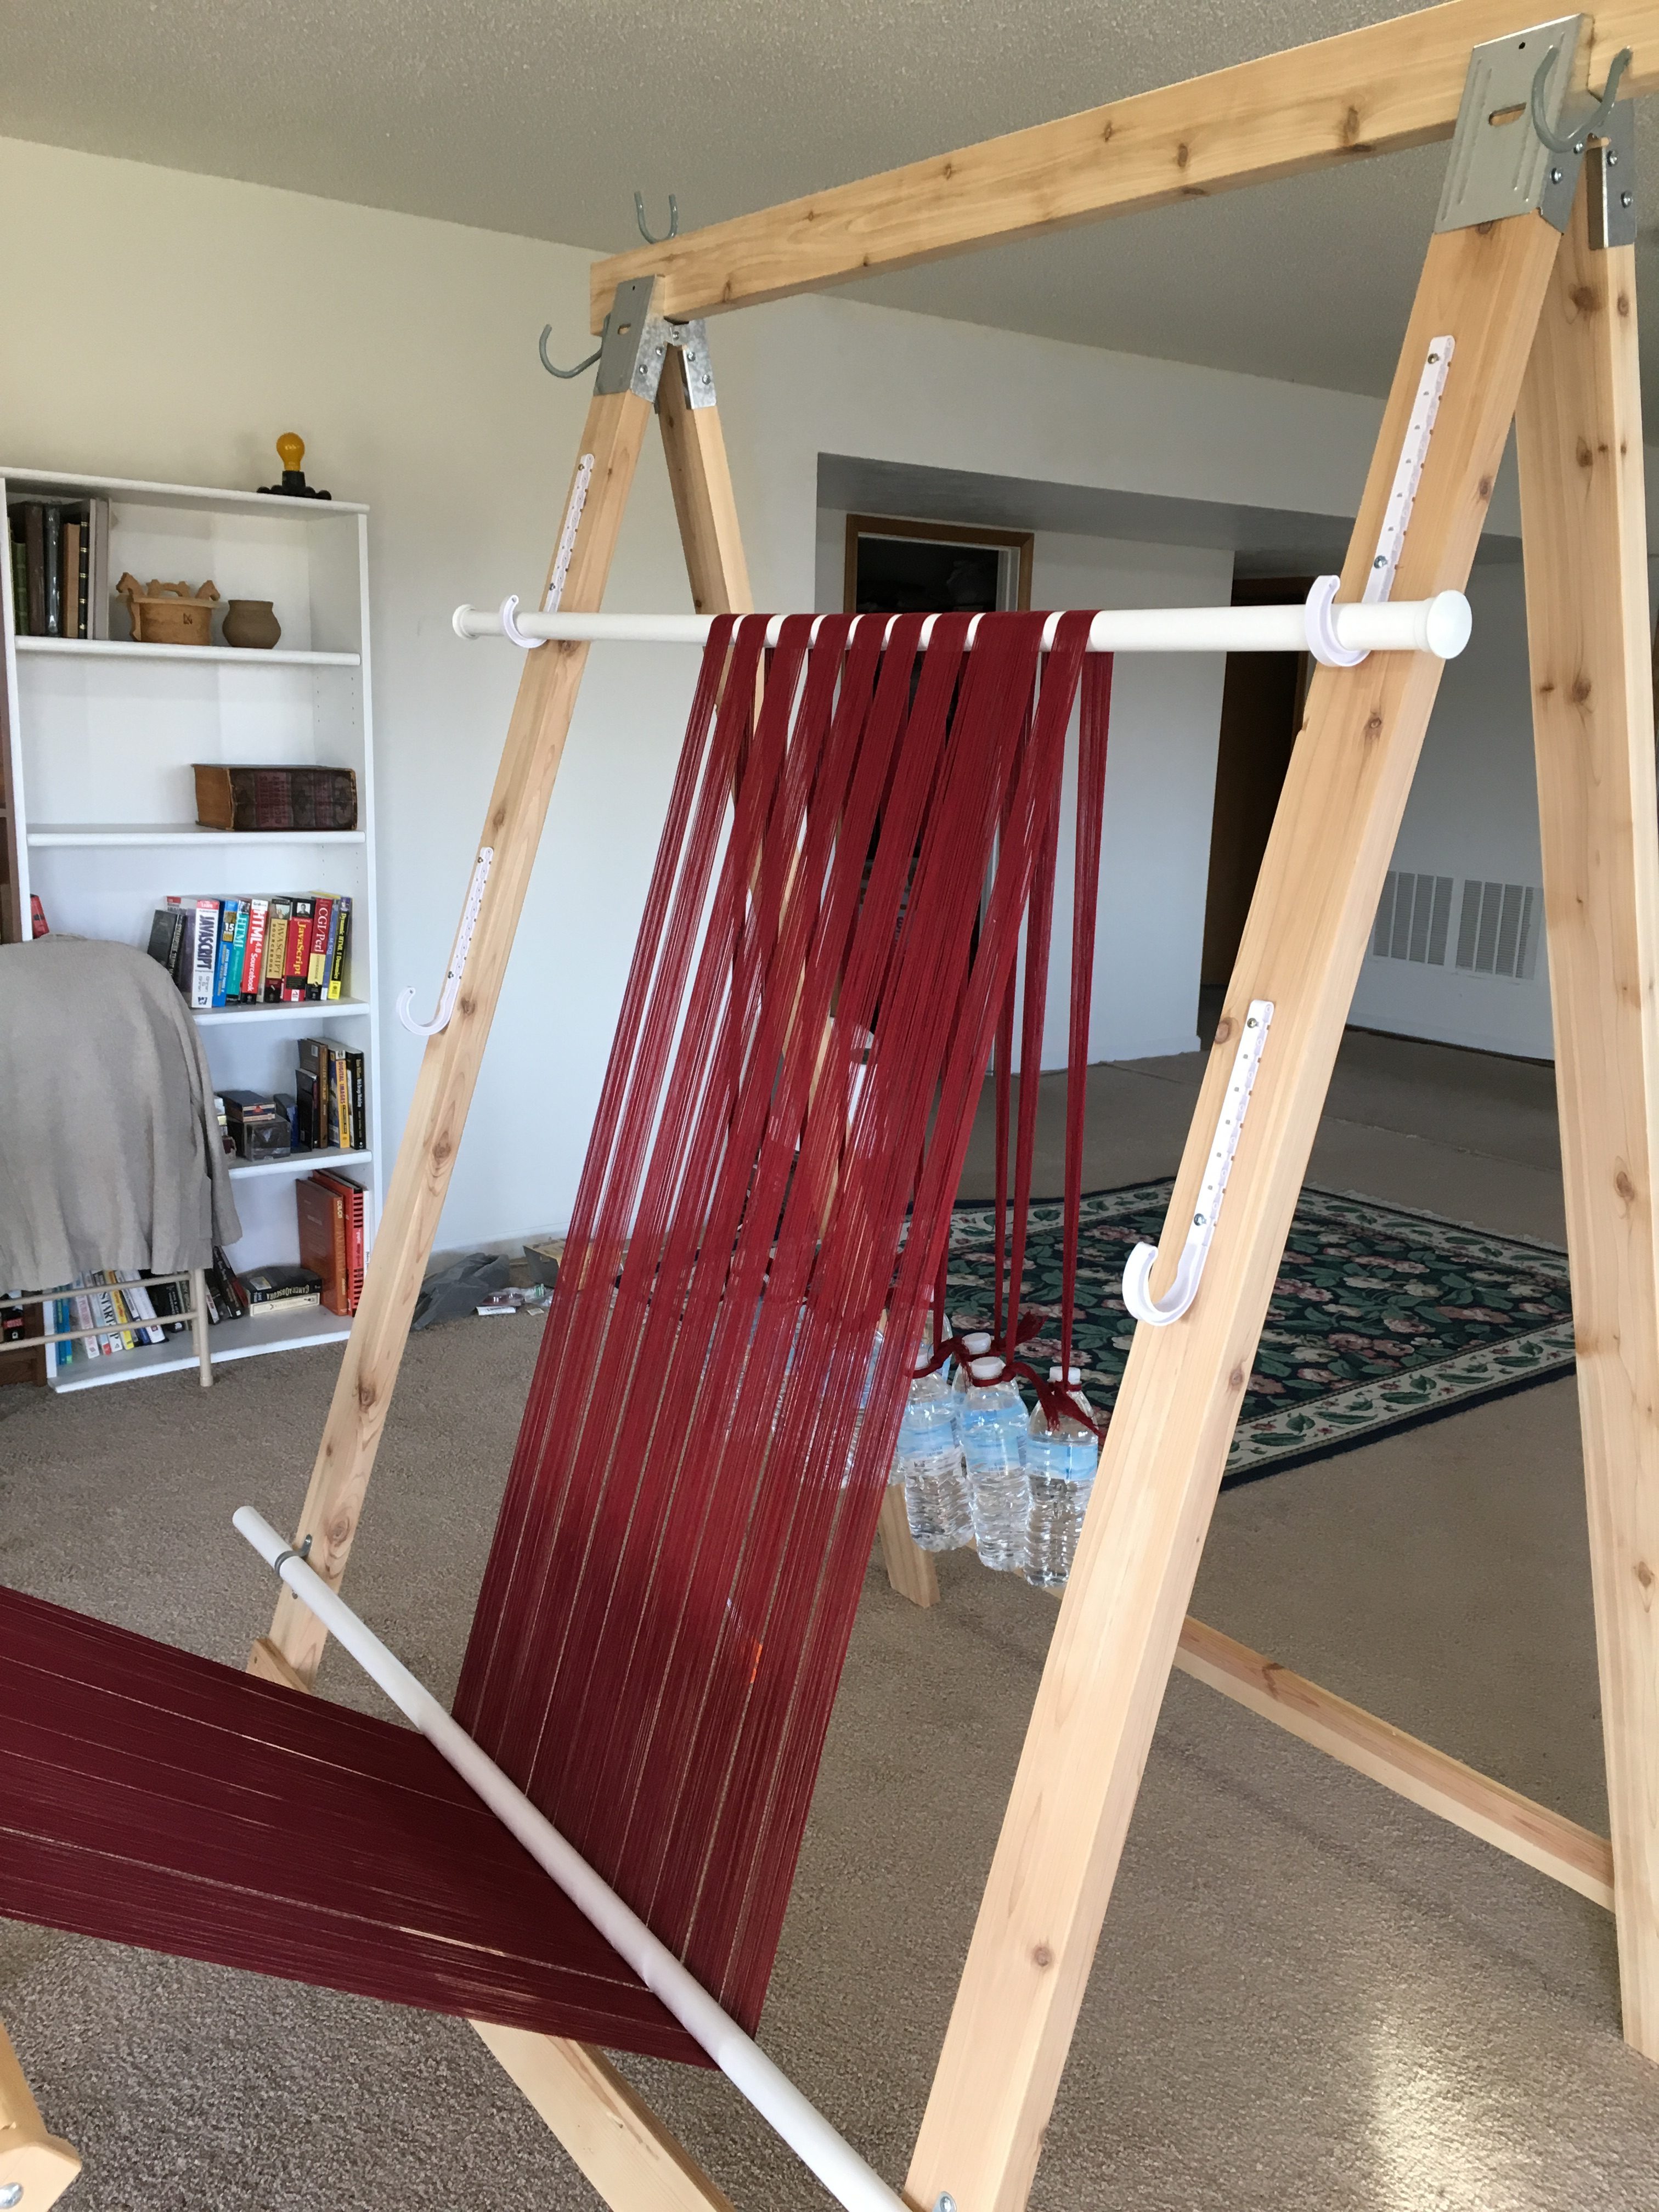 |
When my weights are at the end of the warp, I now adjust by moving that top bar down to the next set of hooks and continue winding. |
 |
And again down to the next bar. |
 |
The next step is to pull the weights out from under the bottom bar and put over the bar at its lowest position.
It’s here that I need another set of adjustment hooks that are even with the front beam because the warp should be horizontal here. |
 |
I move the trapeze closer to the loom to get as much work out of the trapeze as possible. |
 |
When I can’t use the trapeze any more, the weights just hang off the front beam and I finish winding until the weights are up to the front beam. |
 |
When I used the trapeze for the second time, I changed things a little. I bought weights instead of keeping water bottles on hand. |
 |
These are S-hooks and fishing weights. These weights come in all sorts of sizes. I bought 4-ounce weights. |
 |
This is the latest improvement to the warping trapeze. It now doubles as a warping frame! My other frame does 9 yards. With all the pegs in, this will do 20 yards. |
 |
The board with the pegs for the cross is removable. The pegs are glued in to this board. |
 |
All the other pegs are removable. That way, I can set up my configuration to suit the warp length I want to measure. |
 |
Picture of the board with the pegs for the cross. |